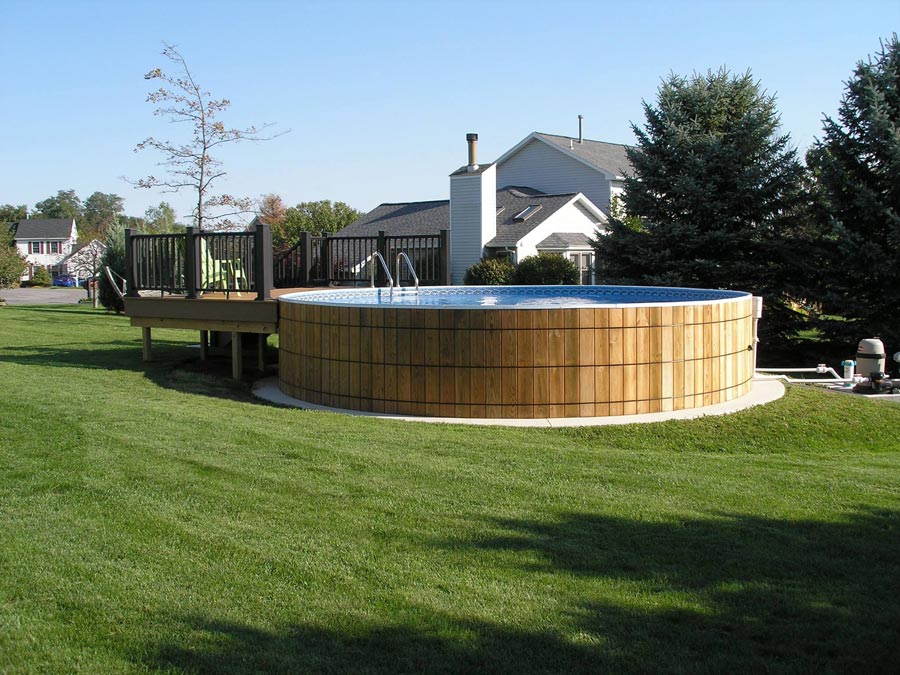
- Wooden Pools


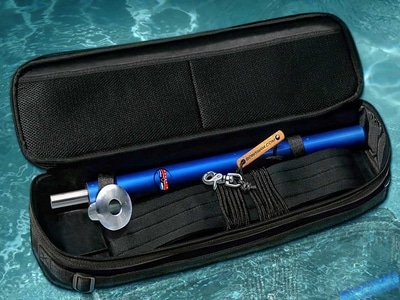
- Pool Accessories

Did you know that Benjamin Franklin loved swimming?

Crestwood’s custom-fitted winter covers have proven durability.

We offer long-lasting, multi-color LED light fixtures.

Explore the Optimal Pool Filtration System

Durable, Safe 4-Step Pool Ladder

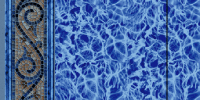
Only the highest-quality virgin vinyl pool liners
Get an in-ground pool feature with our exclusive Walk-In Stair option.

More Cost-Effective than Swim Spas

Simple, Effortless Winterizing System

Family Friendly Pool Vacuum

Lorem Ipsum is simply dummy text of the printing and typesetting
- Resources & DIY


- Why Crestwood?
- Builders & Installers